After removing tiles, you’re often left with a sticky, uneven mess that makes painting or retiling difficult. Learning how to remove tile glue from wall the right way ensures a smooth surface and prevents future issues with adhesion or finishing.
Whether you’re renovating your bathroom, kitchen, or laundry area, this guide covers the most effective methods for removing tile adhesive (mastic or thinset) without damaging your wall.
Types of Tile Glue You Might Encounter
Before you start, it’s helpful to know what kind of adhesive you’re dealing with:
- Mastic: A softer, organic adhesive usually found behind ceramic or wall tiles.
- Thinset Mortar: A harder, cement-based adhesive typically used for floor or heavy wall tiles.
Understanding the type helps you choose the best removal method.
Tools You’ll Need
Gather these basic tools before starting:
- Putty knife or scraper
- Hammer and chisel (for thicker glue)
- Warm water or adhesive remover
- Sponge or cloth
- Sandpaper or power sander
- Protective gloves and goggles
Optional: A heat gun or hair dryer can soften stubborn glue for easier removal.
Step-by-Step: How to Remove Tile Glue from Wall
Step 1: Prepare the Area
Cover nearby surfaces and floors with plastic or drop cloths. Wear gloves and goggles to protect yourself from debris and dust.
Step 2: Soften the Adhesive
For mastic glue, apply warm water or a commercial adhesive remover to the wall. Let it soak for 10–15 minutes to loosen the bond.
For cement-based thinset, use a heat gun or hammer and chisel to gently break apart the hardened glue.
Step 3: Scrape Off the Glue
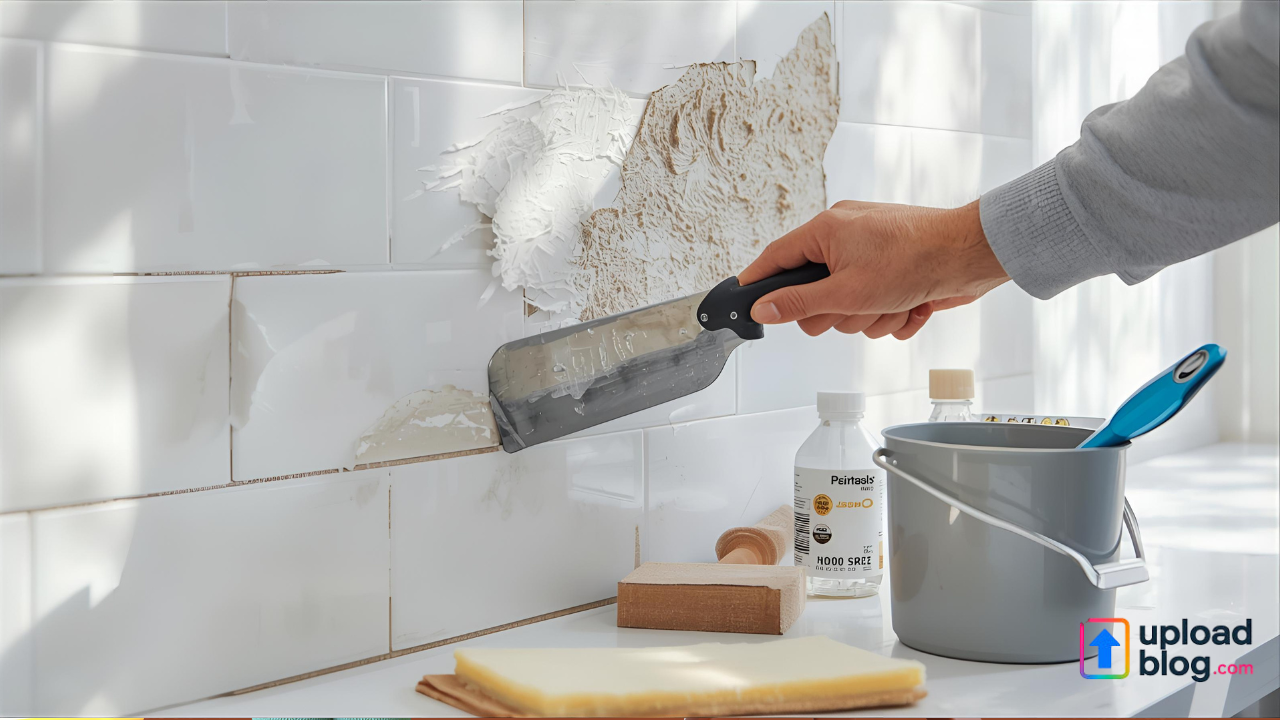
Use a putty knife or scraper to lift and remove softened glue. Work slowly and carefully to avoid gouging the wall.
If you’re dealing with thick mortar, gently tap your scraper with a hammer to remove layers bit by bit.
Step 4: Clean Residue
Once most of the adhesive is gone, wipe the wall with a damp cloth or sponge to remove leftover residue. For stubborn spots, repeat the soaking and scraping process.
Step 5: Smooth the Wall Surface
After cleaning, use fine-grit sandpaper or a power sander to even out any rough patches. This step is essential if you plan to paint or apply new tiles.
Step 6: Wipe and Inspect
Finally, wipe the wall with a clean, dry cloth. Make sure the surface is completely smooth and free of dust or glue before moving on to your next project.
Pro Tips for Best Results
- Always start with mild methods (like warm water) before using chemicals.
- Avoid soaking drywall too much—it can weaken the surface.
- Work in small sections for better control and precision.
- Ventilate the area well if you’re using adhesive remover or heat tools.
Eco-Friendly Alternative
If you prefer natural cleaning, try mixing vinegar and warm water (1:1 ratio) in a spray bottle. Spray it on the glue, let it sit for 15 minutes, and then scrape gently. It’s non-toxic and works surprisingly well for mastic adhesives.
FAQs About Removing Tile Glue from Walls
Q1: Can I paint over tile glue residue?
A: No, leftover glue can cause uneven paint or peeling. Always remove and sand the surface first.
Q2: Will a heat gun damage drywall?
A: Not if used carefully. Keep the gun at least 4–6 inches away and move it continuously to prevent burns.
Q3: What’s the easiest way to remove thinset mortar?
A: Use a chisel and hammer for thick sections, followed by sanding to smooth the wall.
Q4: Do I need to prime the wall after removing glue?
A: Yes, if you plan to repaint or retile, priming helps new materials adhere better.
Read Also: How to Wrap a Plushie – Creative and Easy Gift Wrapping Ideas
✅ Conclusion
Knowing how to remove tile glue from wall properly makes any renovation project smoother and faster. With the right tools and a little patience, you can achieve a clean, even surface ready for painting, wallpapering, or retiling.
Regular maintenance and gentle techniques help protect your wall structure and ensure professional-quality results every time.